Apache Superset Installation & Configuration
IT guy with 30+ years of practical experience with Linux, Macs, Windows and open source software.
VP of Infrastructure & Security Systems at Monitorbase
Updated: 8 Jun 2023
Introduction
If anyone thinks open source is free, it's not. What you don't pay in $$$ you pay in time (not meant disparagingly). Most open source documentation is written by tech people who, likely unconsciously, seem to assume those who will read it, already understand it.
Apache Superset is no different. I spent quite some time researching, figuring out and cobbling together how to set up Apache Superset from various sources (see references). Although there are some good initial sources (particularly Superset's own documentation), nothing got me to the finish line on its own. Nothing seemed to have everything I was looking for or it was lacking helpful examples of what the code/config should look like. So, here's what I figured out and what worked for me. Hopefully, you find it helpful.
Dev/Test Setup
Helpful Notes
This method is not meant for production nor is it secure. It should only be used internally and not be accessible to the outside world.
Because this method runs Superset under your current user, when you logout or disconnect from your ssh session, Superset will stop. To leave Superset running upon disconnect, use a screen or tmux session.
Dev/Test Environment
Ubuntu 20.04LTS (fully updated) on an AWS EC2 t3.small instance
Running as a local user or root
Python virtual environment
Not running as a service
How To
Install dependencies
sudo apt install build-essential libssl-dev libffi-dev python3-dev python3-pip libsasl2-dev libldap2-dev default-libmysqlclient-devInstall Python virtual environment (recommended)
apt install python3.8-venvUpdate pip
pip install --upgrade setuptools pipI had to downgrade sqlparse otherwise, there were errors during Superset's db upgrade (this took quite awhile to figure out)
pip install sqlparse=='0.4.3'Create the Python virtual environment (this keeps all Python packages installed/uninstalled within this environment)
python3 -m venv venv. venv/bin/activate(this puts you in the venv - note the command starts with the "."- To exit the venv, type
deactivateon the command line
- To exit the venv, type
Install Superset
pip install apache-supersetInit the DB
superset db upgradeBefore creating the admin user, you need to override the default secret key
Create key:
openssl rand -base64 42Copy the key (using your preferred copy/paste method)
Create a file in <your user>/venv/bin called
superset_config.pyEnter the following as it's own line in the config file:
SECRET_KEY = 'paste key here'(note the single ticks are required)
Create the admin user
export FLASK_APP=supersetsuperset fab create-adminLoad some play data
superset load_examplesCreate default roles (for other users)
superset init(Optional) If you will be connecting to a MySQL db for your BI data, you'll need to load the MySQL drivers.
Linux dependencies
apt install python3-dev default-libmysqlclient-dev build-essentialapt install mysql-client(for testing connection to db from command line)Python dependencies (possible not all of these are needed)
pip install pymysqlpip install mysql-connector-python(pretty sure this is the key item)pip install mysql-pythonpip install mysqlclientSuperset will automatically import/use these. You'll know it's working if you get the MySQL option in the database connection setup within Superset. If you've already started Superset, you'll need to restart it.
Start the Superset server
superset run -h 0.0.0.0 -p 5000-h: host ip. Using 0.0.0.0 binds to all IPs
-p: port
Connect to server
- In your web browser, connect to the IP address of your server at port 5000 (example: http://192.168.1.123:5000)
Connect to Database (sdb)
Once in Superset using your web browser, navigate to:
Settings
+Database
Choose database type
Enter the required parameters (see examples below)
The following entry is what worked when connecting to a MySQL database on SingleStore (singlestore.com). It should also work for a local MySQL db.
mysql+mysqlconnector://<user>:<password>@<db url or IP>/<db name>
Example: mysql+mysqlconnector://readonlyuser:password123@mydb.example.com/mydatabase
SingleStore note:
For production cloud environments, I can't say enough good about SingleStore. It increased the performance of our web app (not related to Superset) quite literally 1000% over AWS RDS (which served us well until we outgrew it). Their customer service is top-notch. (No, I was not compensated for saying this!)
Database Connections (examples):
mysql://:@127.0.0.1:3306/mysql://:@localhost:3306/mysql+pymysql://:@127.0.0.1:3306/mysql+pymysql://:@localhost:3306/mysql+pymysql://:@<127.0.0.1>:3306/mysql+pymysql://:@localhost:3306/mysql+mysqlconnector://:@<127.0.0.1>/mysql+mysqlconnector://:@/
Dev Setup References/Credits:
Cloud Hosted Superset: http://preset.io
Primary instruction sets (setup was a combination of these items)
Other helpful pages:
Superset Production Setup
Notes:
This uses Docker with a "production" (read: more secure) configuration. That's not to say it's perfectly secure (nothing is). You will need to take appropriate steps to further protect it. If it's going to be made publicly available, I would recommend stuffing it behind a load balancer with a WAF and other appropriate protections, etc.
Security software (antivirus) may break some Superset functionality. Specifically, it prevented new tabs in the SQL Lab as well as displaying search results with errors such as those shown below. This is just an antivirus configuration issue that still needs to be chased down (I'll update this when I do). If you see something similar, try disabling the antivirus to see if it fixes it.
"An error occurred while storing the latest query id in the backend."
"An error occurred while storing your query in the backend."
"An error occurred while setting the tab schema."
"An error occurred while setting the tab database ID."
"Unable to add a new tab to the backend."
Production Environment Used
Ubuntu 20.04LTS (fully updated) on an AWS EC2 M6i.xlarge instance
4 vCPU
16GB ram
Docker
Superset git repo
Postgresql (default) for Superset database
SingleStore for BI source data
SMTP sending service (for reports, alerts)
Install Docker
Update repos & install certs:
Update package index; install packages to allow repo over https:
sudo apt updatesudo apt install ca-certificates curl gnupgAdd Docker’s GPG key:
sudo install -m 0755 -d /etc/apt/keyringscurl -fsSL https://download.docker.com/linux/ubuntu/gpg | sudo gpg --dearmor -o /etc/apt/keyrings/docker.gpgsudo chmod a+r /etc/apt/keyrings/docker.gpgSetup Docker repo:
echo "deb [arch="$(dpkg --print-architecture)" signed-by=/etc/apt/keyrings/docker.gpg] https://download.docker.com/linux/ubuntu "$(. /etc/os-release && echo "$VERSION_CODENAME")" stable" | sudo tee /etc/apt/sources.list.d/docker.list > /dev/null
Install Docker Engine:
sudo apt updatesudo apt-get install docker-ce docker-ce-cli containerd.io docker-buildx-plugin docker-compose-pluginVerify Docker installation:
sudo docker run hello-world- This will download a test image, run the container and print to screen a confirmation message.
Apache Superset Setup
Clone Superset’s git repo
cdinto the directory where you want to repo to reside.- git clone will create a “superset” directory here - so if you create your own "superset" directory, you'll end up with another one inside that (which will have yet another as part of the repo)). I just cloned if from within my user directory.
Clone Superset
git clone https://github.com/apache/superset.gitNote: if repo already exists on the local machine (such as if you're trying to update an existing repo), then:
cd into the repo directory
Do a pull to update it:
git pull https://github.com/apache/superset.git
Configure Superset
Change the secret key in /superset/docker/.env-non-dev
Note: Starting with Superset version 2.1, Superset will not start with the default key.
Generate key:
openssl rand -base64 42Edit the file: /superset/docker/.env-non-dev
Paste key into the variable SUPERSET_SECRET_KEY (located toward the bottom of the file). It should look like this (there should be no quotes, ticks, etc.):
SUPERSET_SECRET_KEY=1234567890/abcdefghijklmnopqrstuvwxyz
If any other passwords are changed (for redis, PostgreSQL, etc.), they need to match all the way through.
Note that other config files are involved, so there's a high probability of breaking something - and yet, it's still wise to do.
First time through, best to leave the defaults.
Launch Superset (from the superset directory)
docker compose -f docker-compose-non-dev.yml pull- Only needed first time
docker compose -f docker-compose-non-dev.yml up -d-d: Detaches the run from your current shell.
If you omit the -d, then you'll see all the logs from all containers during the startup which can be handy to watch.
If you omit the -d, then when you quit the shell (ctrl-c), all containers will stop.
Connect to Superset in your browser
http://<server ip>:<port
- default port is 8088
example: http://10.10.10.123:8088
The default login is: admin - admin
- You should change this ASAP
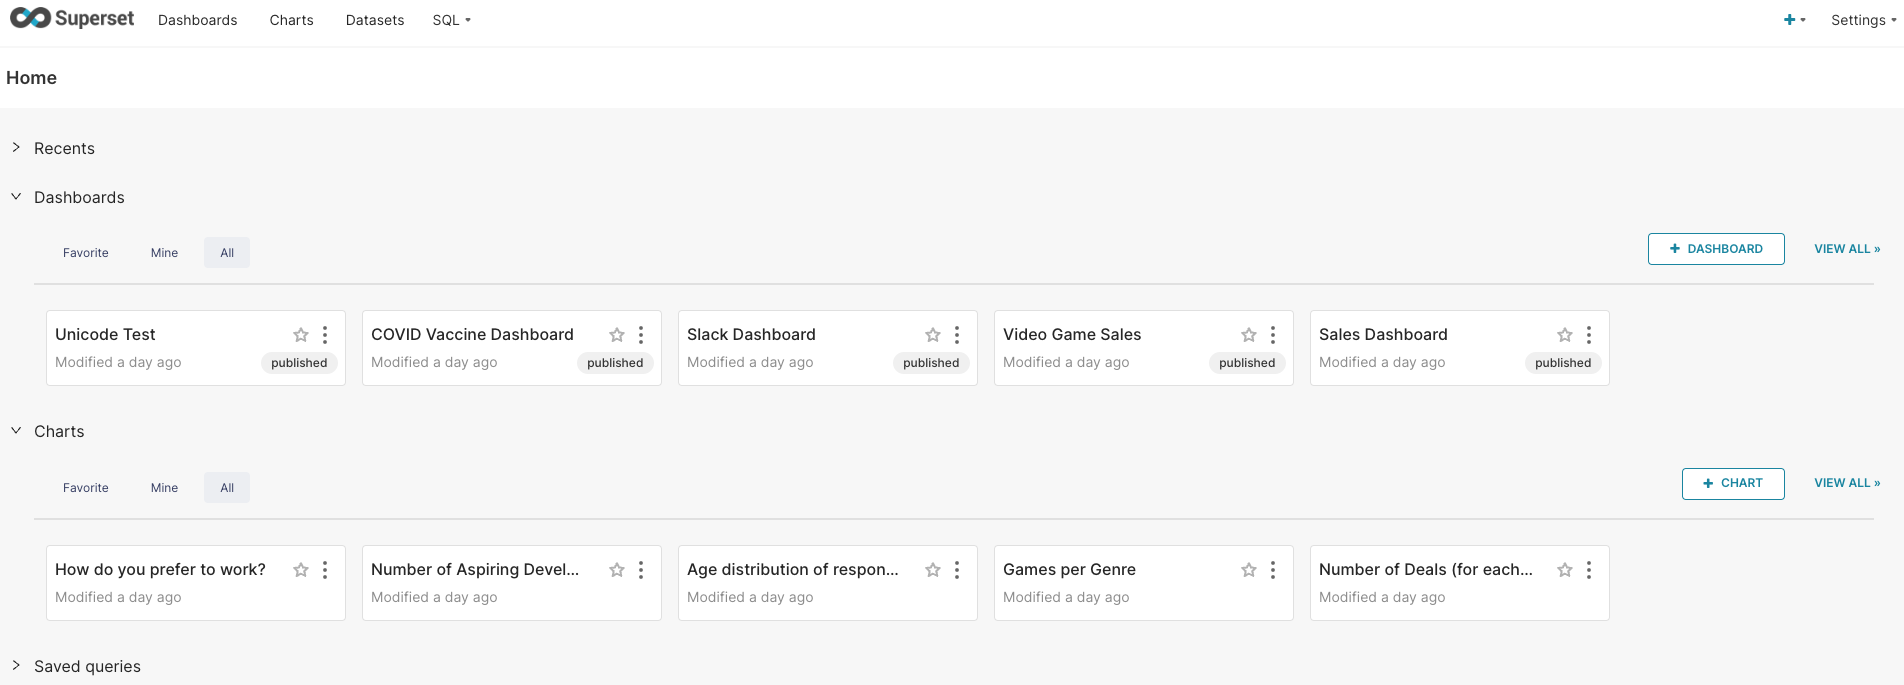
You should now be at the Superset home screen with example dashboards and charts.
Setup Your BI Data Connection
This is to set up a connection to your source BI/Analytics data. It is recommended to create a user in your db with read-only access and limit the access to only the data needed by your Superset users.
Out of the box, the Docker Superset will support PostgreSQL, MySQL, Presto and SQLite compatible databases. No need to load extra drivers.
In Superset, go to Settings, Database Settings
Click “+ Database”
Choose DB type (either from the panels, or the dropdown box)
Enter all the appropriate fields (be sure to name it something recognizable to you and your users)
Click Connect
Click Finish
Test DB Connection (sample queries)
Click the SQL dropdown menu, choose SQL Lab
In the Database dropdown, choose the database you added previously
In the query box enter a sample query appropriate to your db such as (example only) and click the RUN button
SELECT * FROM usersRun the query multiple times in a row to see if Redis is kicking in. The search result time should decrease. Note: the time it takes to DISPLAY the results may not change, just the time it took to run the query.
Create Custom Superset Configuration
(superset_config.py)
Notes:
With docker compose, you can’t just create/insert your own superset_config.py file.
If your permissions/owner is incorrect, then the container will not start. It will constantly reboot.
When you down the server, the config is lost (because
docker compose uprebuilds the container every time).If you were to stop the server rather than down it, you could potentially do it, but you risk losing it if you forget to use
stopinstead ofdownor when updating the container in the future.
Custom Configuration How To:
In your server in the superset directory (from git), go to docker/pythonpath_dev
The full path will look something like:
<user>/superset/docker/pythonpath_devThis gets picked up by
docker compose upand inserted into the container in the appropriate place. Then config.py will pick it up when Superset starts.
Create a file called superset_config_docker.py
Note - there should be an example file that you can copy/rename if desired.
- If you copy/rename the example file, be sure to comment out any existing configuration lines. There will be some lines for sqlalchemy.
Add your configuration lines as usual.
These will override anything in the default config.py file (located in superset/superset/config.py)
For an initial test, simply increase the row limits in the SQL searches:
Note: these will impact performance, adjust as desired.
 SQL_MAX_ROW = 1000000
 DISPLAY_MAX_ROW = 1000000
 ROW_LIMIT = 1000000
 VIZ_ROW_LIMIT = 1000000
 QUERY_SEARCH_LIMIT = 1000000
Any typos in this file will likely cause the superset container to fail.
You can watch for that by using
docker compose -f docker-compose-non-dev.yml psto see if any containers are constantly restarting (run this several times in a row).If you see a container restarting, use
docker compose logs --tail=0 --followto see errors.- Note: this shows logs from ALL containers started with compose
Bring your container up (down them if not already) and your new config should be included.
Consult this reference for additional config options: https://superset.apache.org/docs/installation/configuring-superset/
SMTP setup
In your custom config file above, add the following lines:
 # smtp server configuration
 EMAIL_NOTIFICATIONS = True  # all the emails are sent using dryrun
 SMTP_HOST = "smtp.example.com"
 SMTP_STARTTLS = True
 SMTP_SSL = False
 SMTP_USER = "superset"
 SMTP_PORT = 25
 SMTP_PASSWORD = "superset"
 SMTP_MAIL_FROM = "superset@superset.com"
 # If True creates a default SSL context with ssl.Purpose.CLIENT_AUTH using the
 # default system root CA certificates.
 SMTP_SSL_SERVER_AUTH = False
 ENABLE_CHUNK_ENCODING = False
Change the necessary lines for your SMTP server
- The SMTP_MAIL_FROM does not need to be a “real” email address but can help you know and/or filter this source in your email client as well as whitelist these emails from your spam filter.
Also add the following lines to disable dry run (which will not actually send anything, but it will log that it would have sent)
 # Enable alerts & notifications
 ALERT_REPORTS_NOTIFICATION_DRY_RUN = False
Your complete smtp config section will look like this:
# smtp server configuration
EMAIL_NOTIFICATIONS = True  # all the emails are sent using dryrun
SMTP_HOST = "smtp.example.com"
SMTP_STARTTLS = True
SMTP_SSL = False
SMTP_USER = "superset"
SMTP_PORT = 25
SMTP_PASSWORD = "superset"
SMTP_MAIL_FROM = "superset@superset.com"
# If True creates a default SSL context with ssl.Purpose.CLIENT_AUTH using the
# default system root CA certificates.
SMTP_SSL_SERVER_AUTH = False
ENABLE_CHUNK_ENCODING = False

# Enable alerts & notifications
ALERT_REPORTS_NOTIFICATION_DRY_RUN = False
- Bring your container up (down them if not already) and your new config should be included. Again, double-check that no containers are doing the restart dance.
Test Email Notifications:
Log in to Superset
Go to Settings, Alerts & Reports
Click the Reports tab
Click the + Report button
Fill out Report Name
Set Report Schedule to every minute (this is just for testing, as soon as you know it's working you'll want to change this)
Choose any of the example Dashboards from the dropdown list
Under Notification Method, click Add Notification method
Choose email from the drop down
Add your email address
Click the ADD button
Wait 1 minute to see if you get an email
- You may need to check your spam and/or company quarantine to make sure the message does not get caught in one of those nets.
If you do not receive any messages:
Check logs
Check antivirus / firewall / ACL / Security Group policies
Docker Helpful Commands:
Start Containers:
docker compose -f docker-compose-non-dev.yml up -d-f - specifies config file
-d - detaches from shell (otherwise, when you exit the containers will stop)
Stop Containers:
docker compose stop <container name> <container name>...(Preferred)
docker compose downData is not lost because it’s stored in external volumes (persistent storage)
After a “down”, use “up” to rebuild and start containers. Rebuild should grab updates.
Connect to a container:
docker exec -it <container name> /bin/bash- Note: containers have been generally hardened by removing most common packages (even including vim and similar text editors).
Access container file system when stopped (careful with this):
export LOCAL_DIR=$(docker inspect -f '{{ .GraphDriver.Data.UpperDir }}' <container_name>)echo $LOCAL_DIRThen go to <directory shown>/diff
List container volumes:
docker volume lsdocker volume inspect <volume name>Container logs:
docker compose logs --tail=0 --followDocker Container Stats:
docker stats
Production Level Superset references:
https://superset.apache.org/docs/installation/installing-superset-using-docker-compose
https://github.com/apache/superset/tree/master/docker#configuration
https://github.com/apache/superset/blob/master/docker-compose-non-dev.yml
https://towardsdatascience.com/running-apache-superset-at-scale-1539e3945093